So, you’ve created something amazing and now you want to see your project running on your micro:bit! Here’s a step-by-step guide to show you how!
First up! Here’s how the micro:bit works. When you compile and download your app, a hex file is created which you will need to copy to your micro:bit in order to run your app or game. The micro:bit can only run one hex file at a time. So if you already have a project running on your micro:bit and you copy a new project onto it, it will replace the old project with the new one. So, let’s say you’ve created a virtual pet app, and now you’ve created a dice app. Once you copy your dice app onto your miro:bit, your virtual pet will be gone. To use your virtual pet again, you’ll need to copy the file back onto the micro:bit.
So, that’s how the micro:bit handles apps (it isn’t like a phone that can have lots of apps stored). Now, let’s look at how we can get our app from our computer to the micro:bit! This is the exciting part!
Step 1
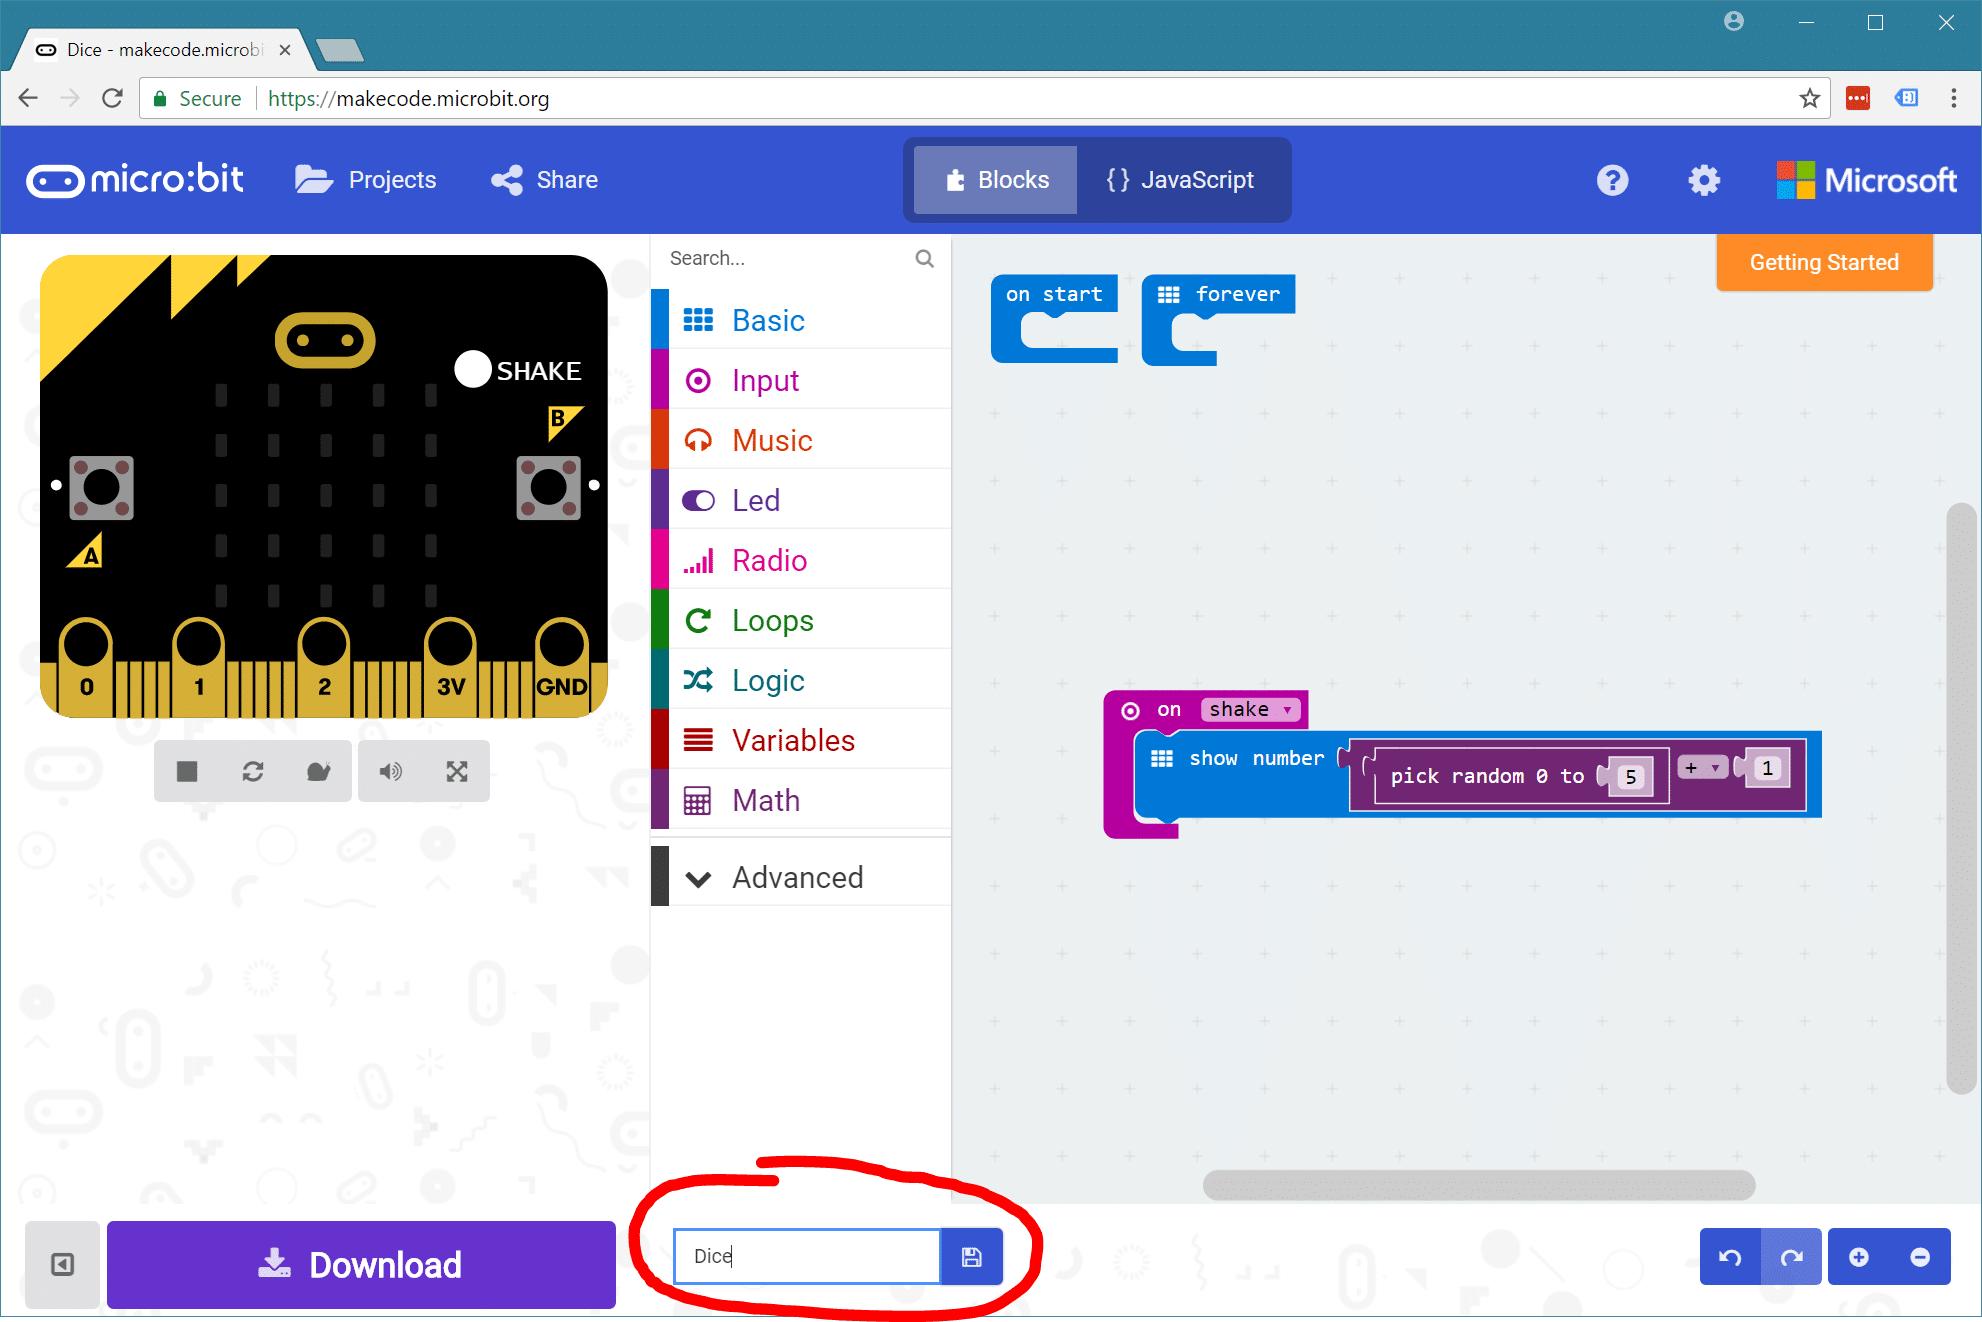
The first thing to do is to name your project! This is important as you may create lots of projects, so being able to tell which file is for which project is super useful! So, if you’ve made a dice app, call the project dice. That way, you can find it amongst all the other awesome things you’ve made!
You do this by entering a project name into the text field at the bottom of the MakeCode editor.
Step 2
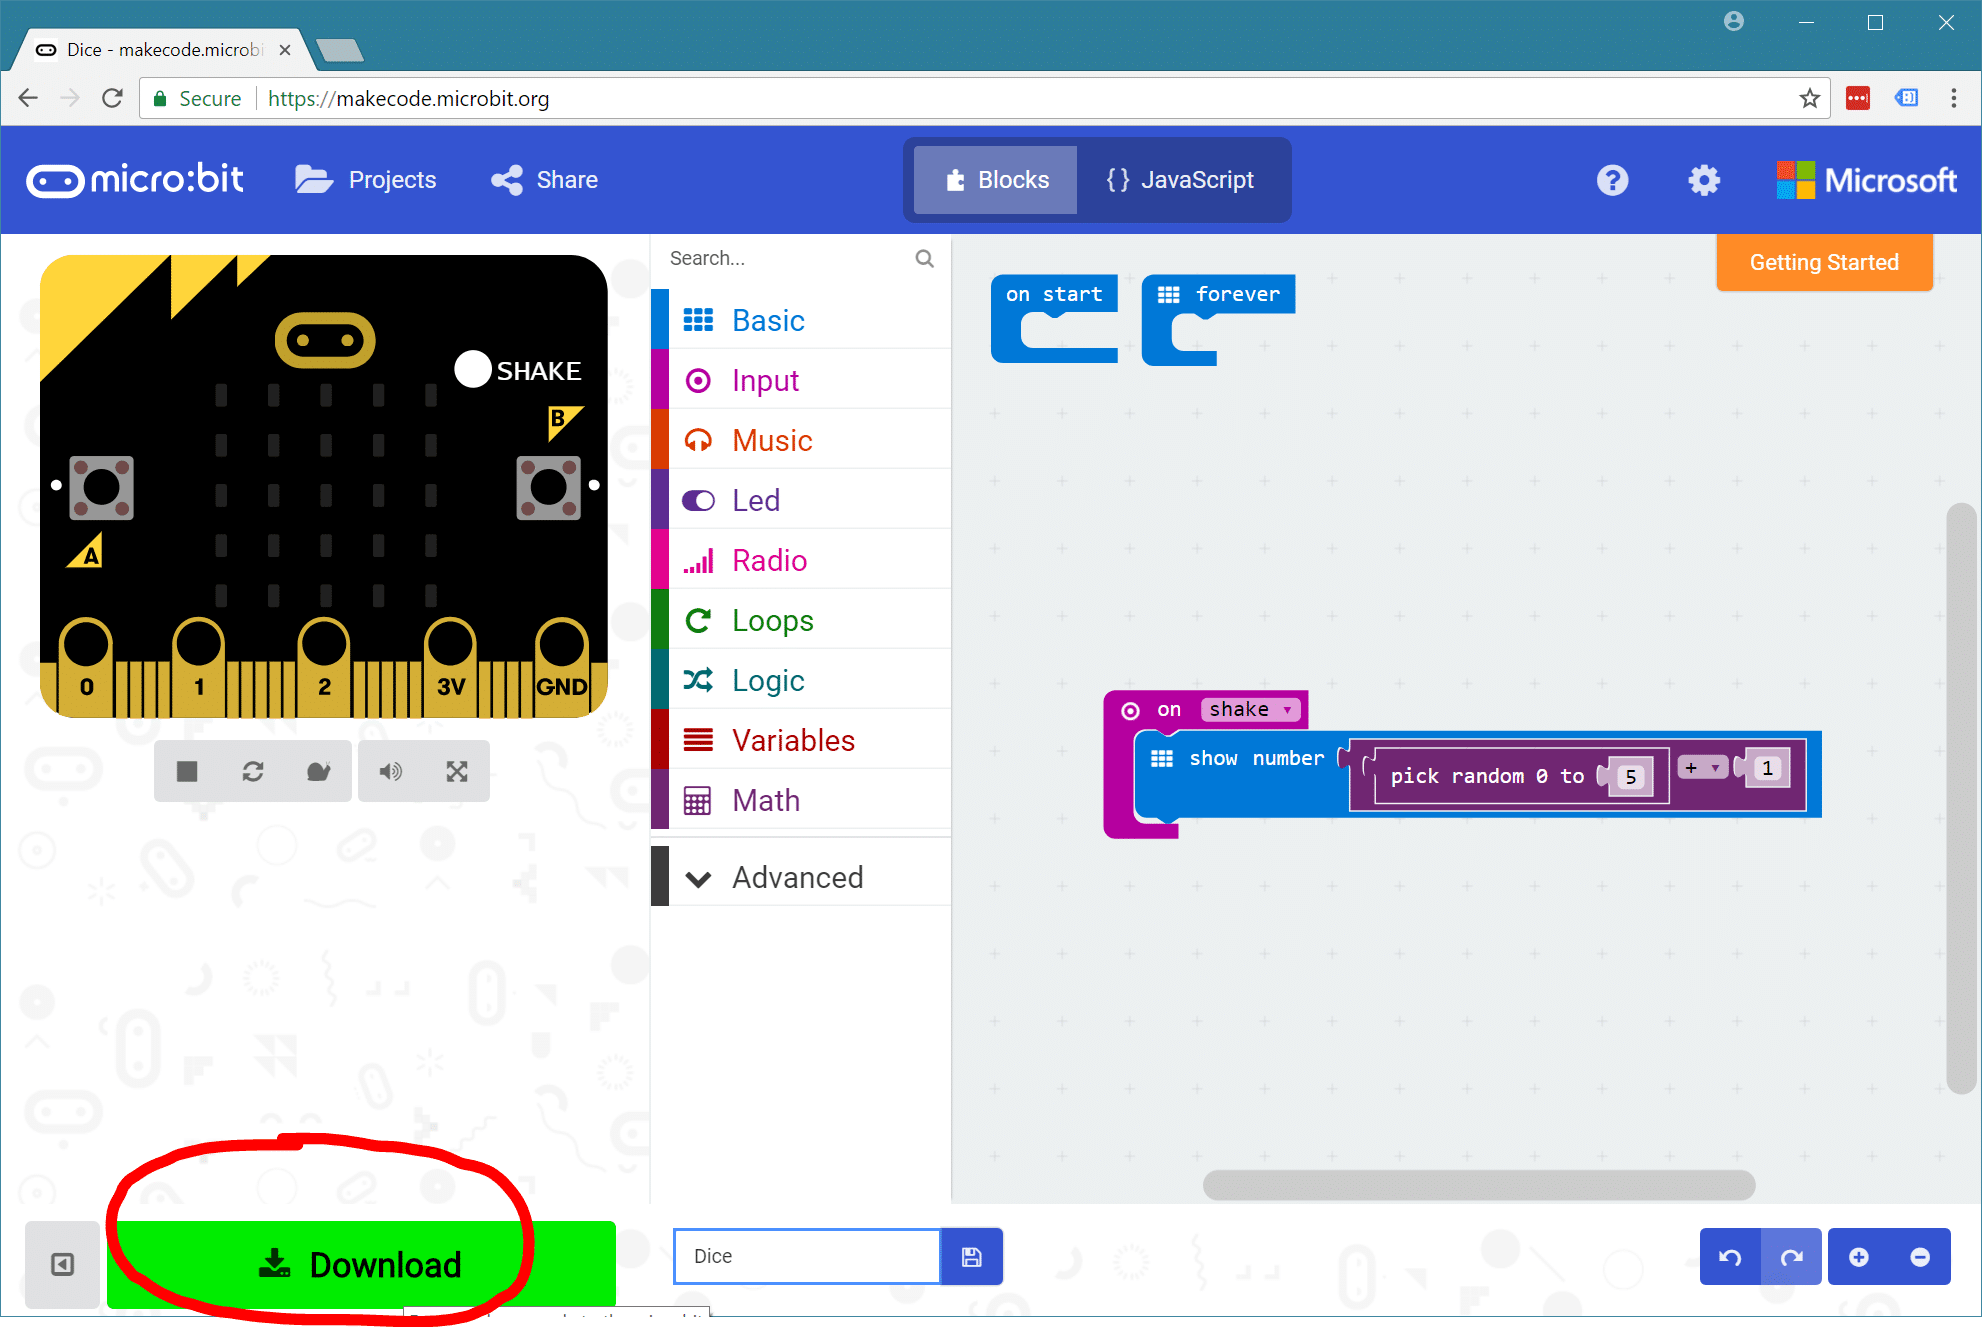
The next step is to download your project. If you click the big Download button, the MakeCode editor will generate a hex file for you and allow you to save it to your computer. Click the Download button and then pick “Save” (You can also, in some browsers, pick “Save As” and pick a location on your computer).
Step 3
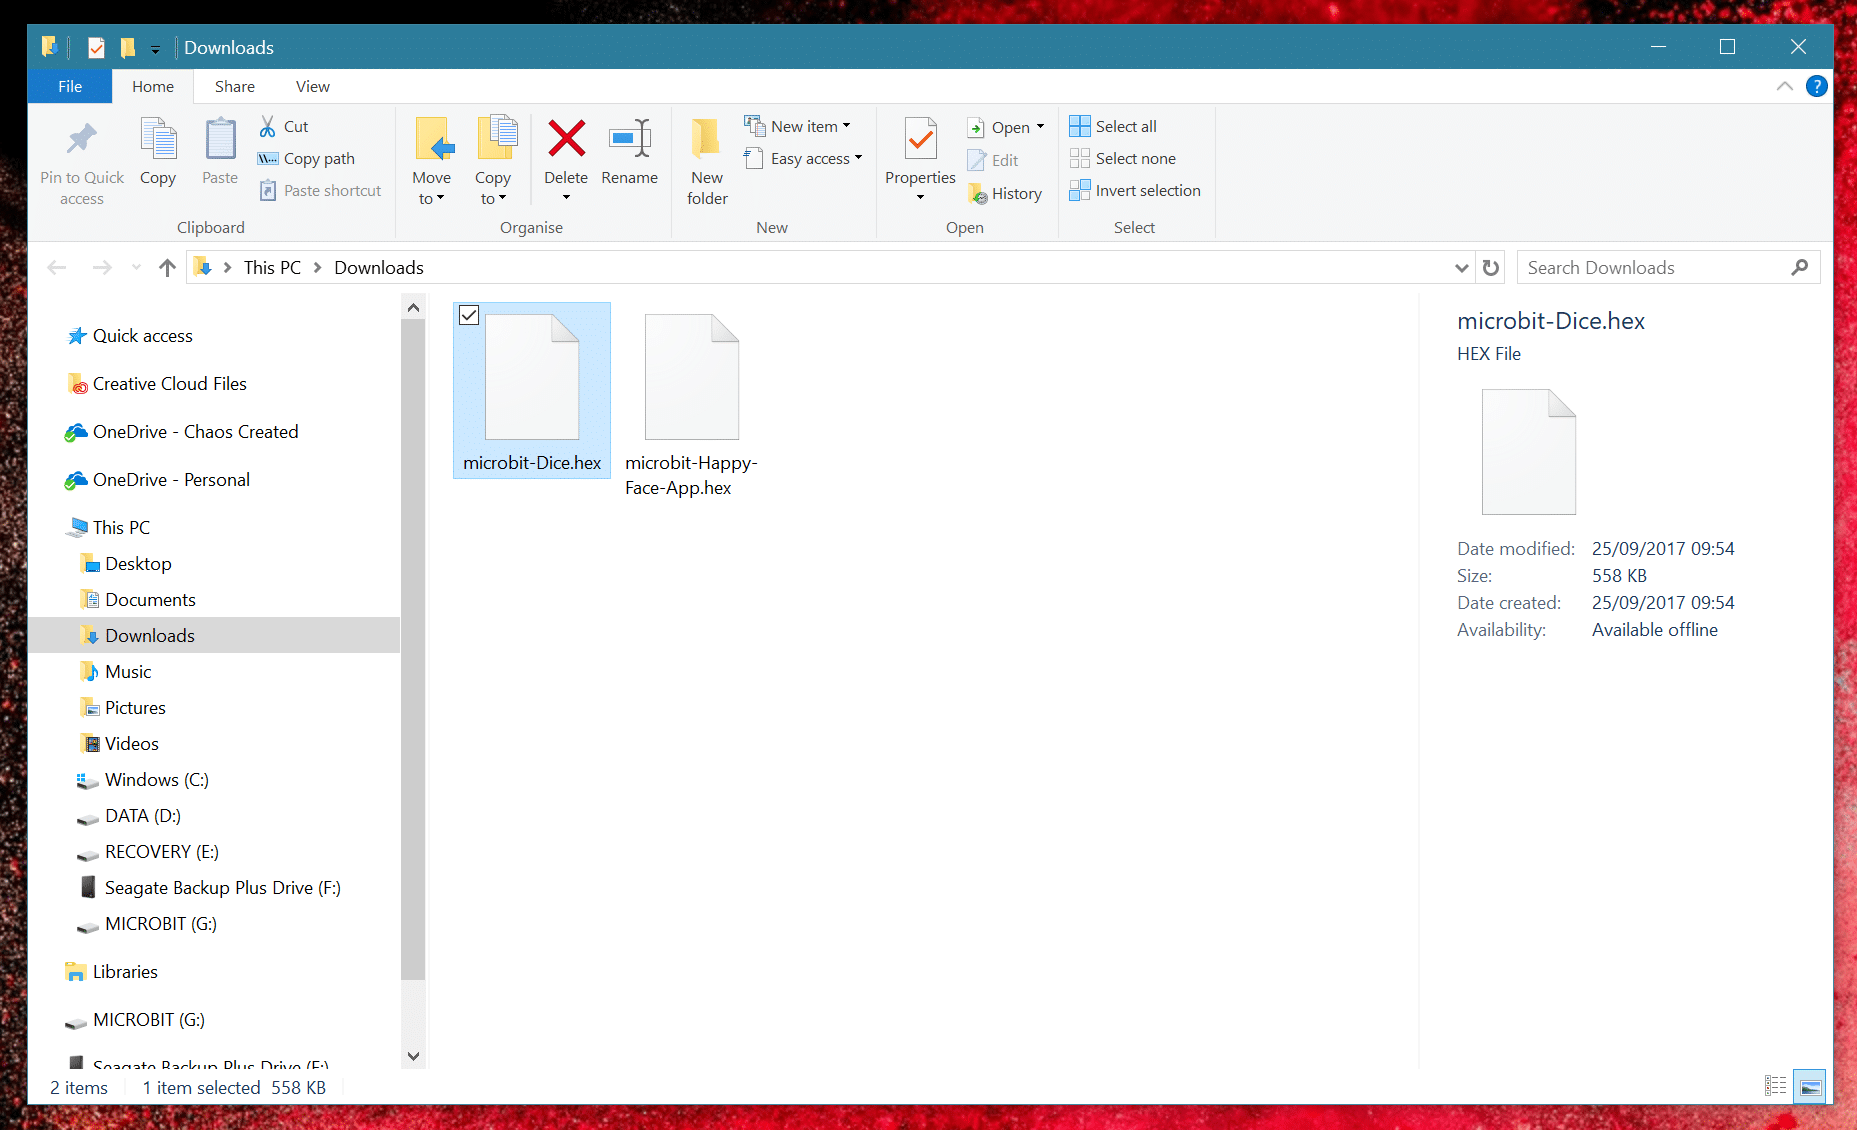
The next task is to locate the hex file we have just downloaded. On most computers, your hex file will be saved to your Downloads folder. But you can easily locate the hex file by opening the file’s saved location.
If you’re using Google Chrome:
Click the small upwards arrow (^) next to the downloaded file’s name in the bottom right hand corner of Chrome.
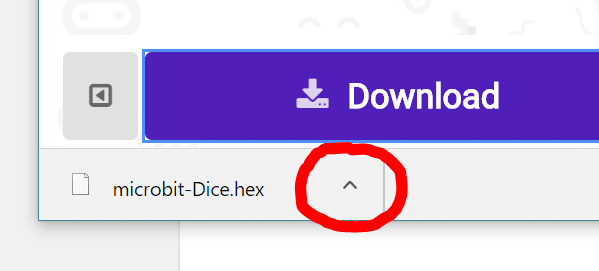
And then click on Show in folder.

If you’re using Microsoft Edge:
Once you’ve downloaded the file, click on the Open folder button.

You will now see your file highlighted! If it isn’t highlighted, you can still find it super-easily as it will be called microbit- followed by the project name you gave it back in Step 1.
Step 4
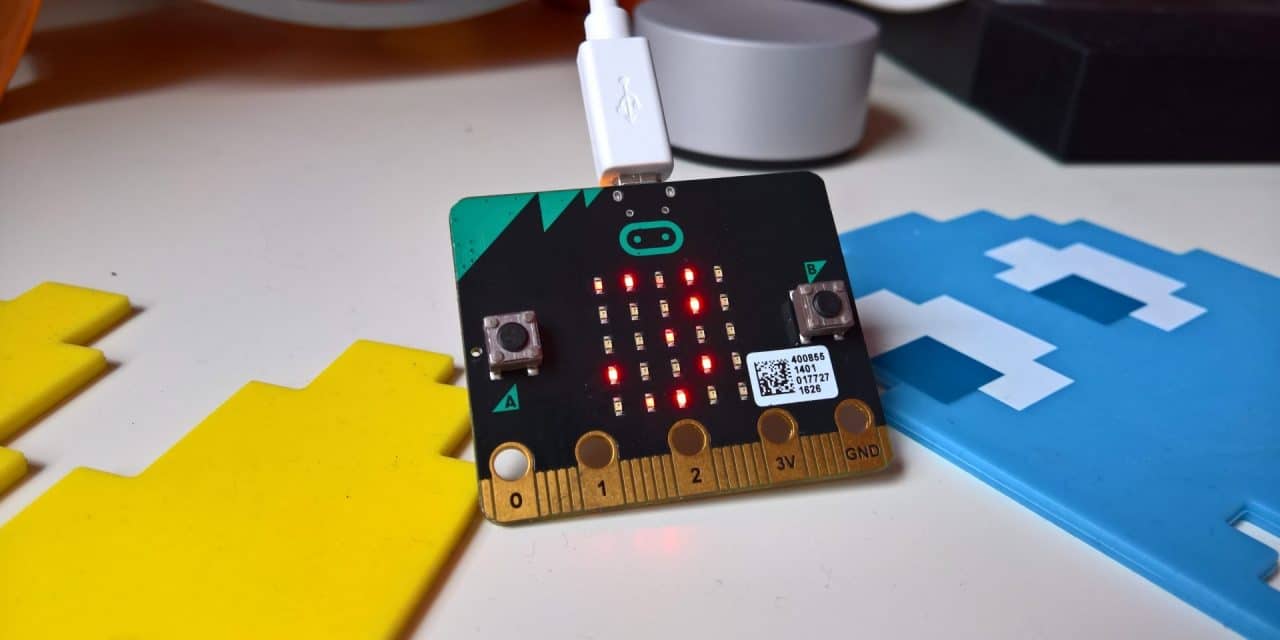
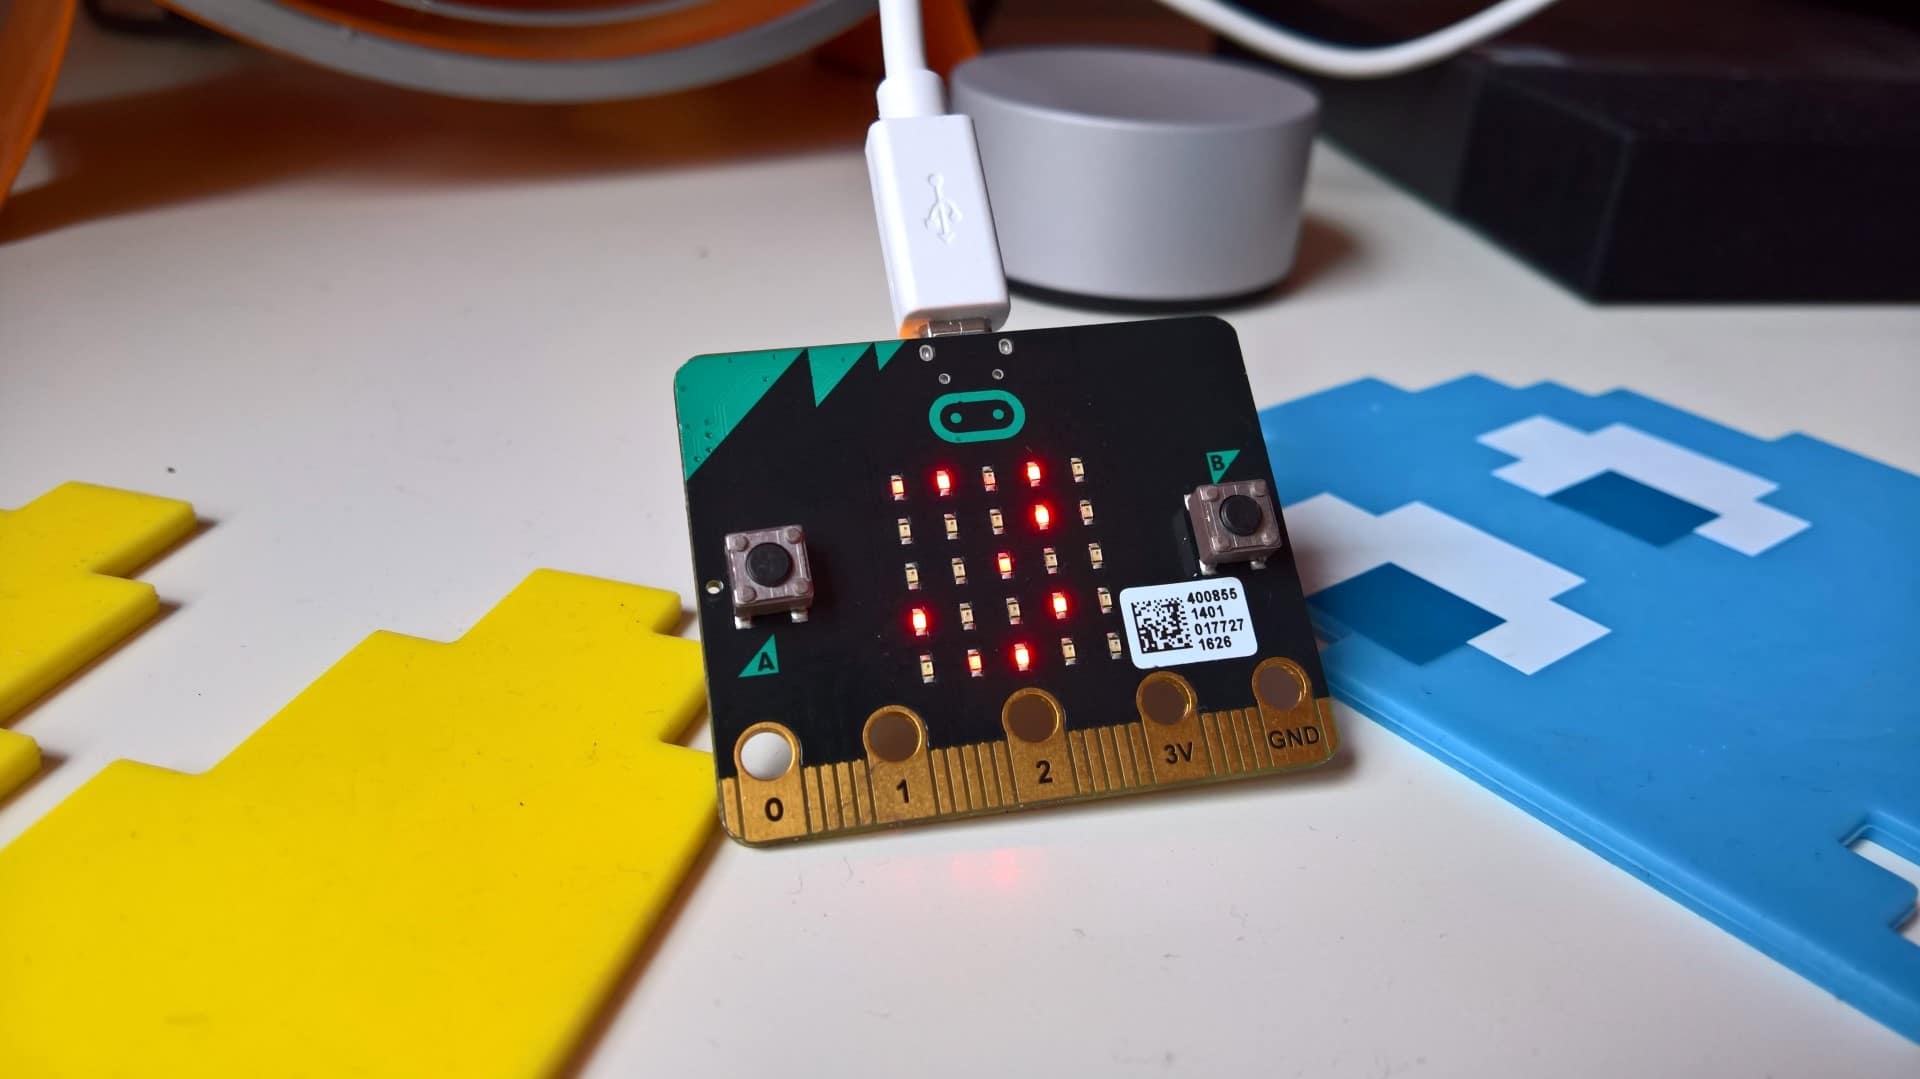
Now time to plug your micro:bit into your PC or Mac!
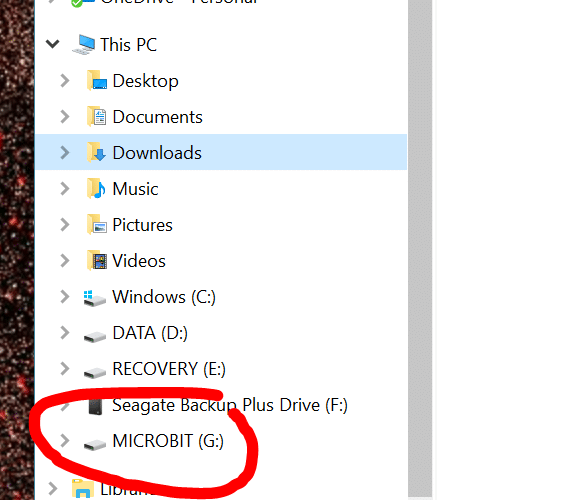
All we need to do now is get the hex file onto our micro:bit! This bit is just like copying a file onto a memory stick! In the left hand corner of File Explorer, you should see the micro:bit listed as a drive. It’ll probably be called MICROBIT. In the screenshot above, you can see that my micro:bit is showing up as my G: drive. You do not need to click on the micro:bit drive! We just need to be able to see that it is there!
If you can’t see the micro:bit listed, you should hover your mouse to the left of This PC (or My Computer on older versions of Windows) and click the dropdown arrow that appears.

Or, if you are using a Mac, you’ll see the micro:bit will be shown as a drive on the desktop.
Step 5
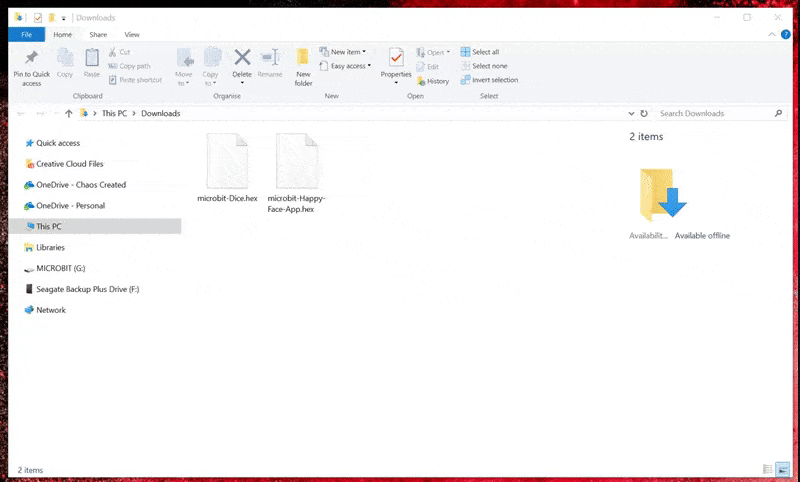
Once you’ve spotted the micro:bit drive, you’re now going to drag the project file from your downloads folder, down to the micro:bit drive and then release the mouse.
Congratulations! Your project is now running on your micro:bit! You can either use your app with the micro:bit plugged into your computer, or disconnect the micro:bit from your computer and connect a battery pack to your micro:bit!


