
Learn how to get started with Kodu Game Lab, a great visual coding tool from Microsoft. In this tutorial, we’ll talk you through installing Kodu, and creating a new world.
Your first step is to install Kodu! There are two different versions of Kodu – one for Windows 10, and one for earlier versions of Windows. If you’re not sure which version of Windows you are running, click here.
If you are running Windows 10
If your computer is running Windows 10, you can get Kodu Game Lab directly from the Windows Store (click here). All you have to do then is click “Get the App” and it will automatically install for you.
If you are running Windows 8.1 or earlier
If you’re running an earlier version of Windows, you can get the Kodu Game Studio installer from here. Simply download the installer and run it.
Once Kodu is installed, you can launch it for the first time!
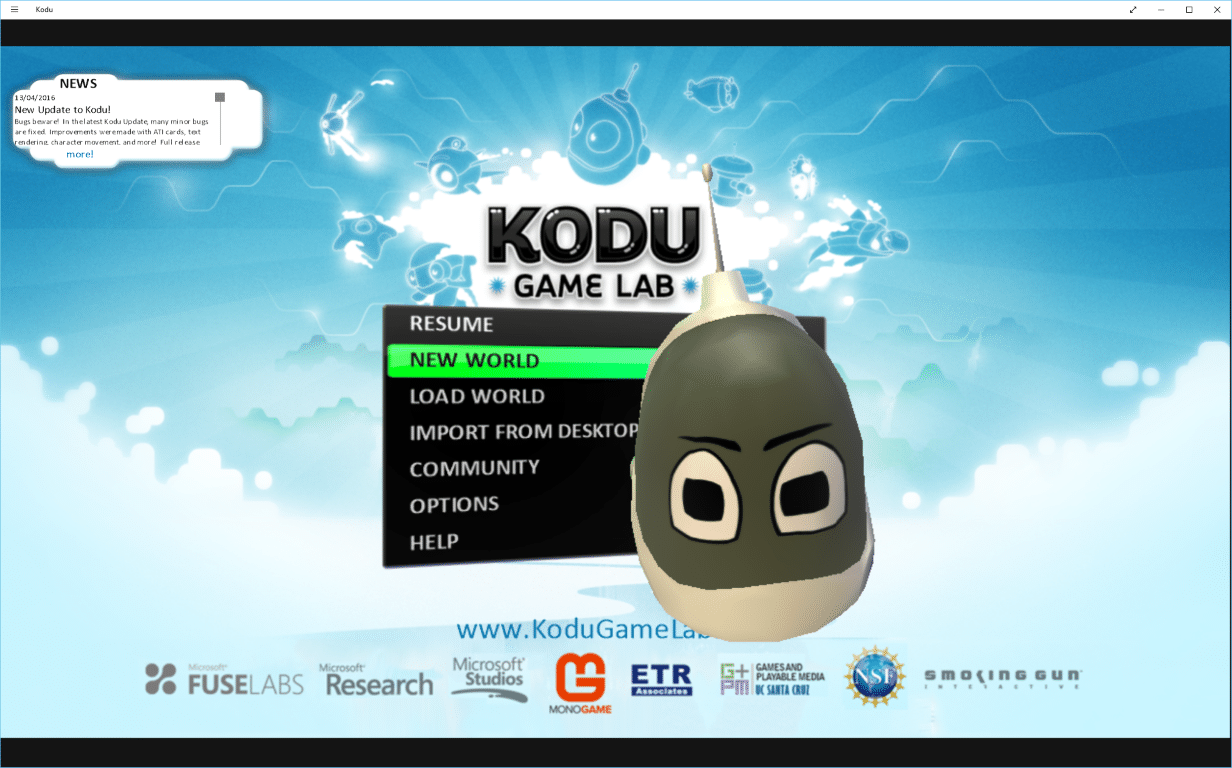
You’ll be presented with a main menu. If you click “New World”, Kodu will create a brand new world for you to begin playing in. So, let’s do that.
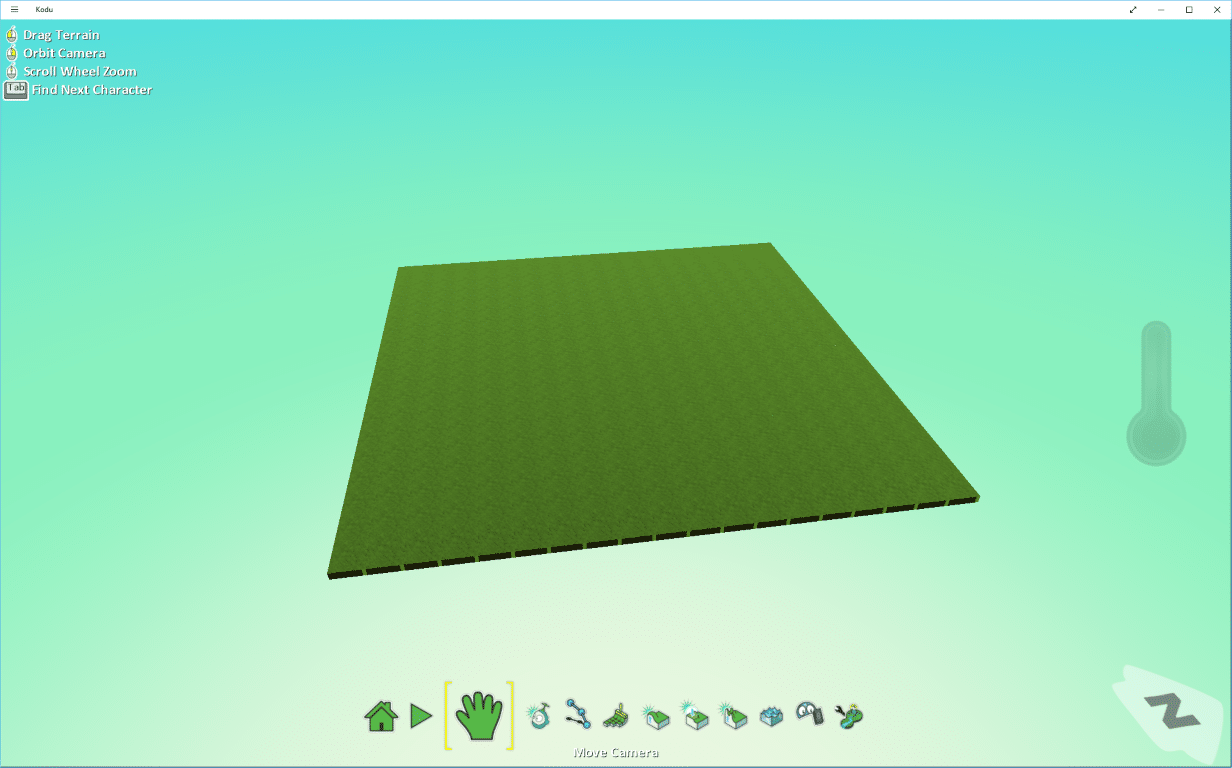
You can move around the world by selecting the green hand tool in the lower tool bar. This is the Move Camera tool. With that selected you can…
- Drag your way around the world – click the left mouse button and drag the mouse around.
- Move the camera – you can rotate the camera by holding down the right mouse button and dragging the mouse – you can rotate on the x and y axis!
- Zoom in and out – use the scroll wheel on your mouse to zoom the camera in and out!
If you’ve played any console or PC games, these controls should feel quite natural. If not, spend a bit of time practising these controls.
Once you’ve mastered these controls, let’s look at how you can manipulate the world a little.
The Terrain Up/Down tool lets you customise your world.
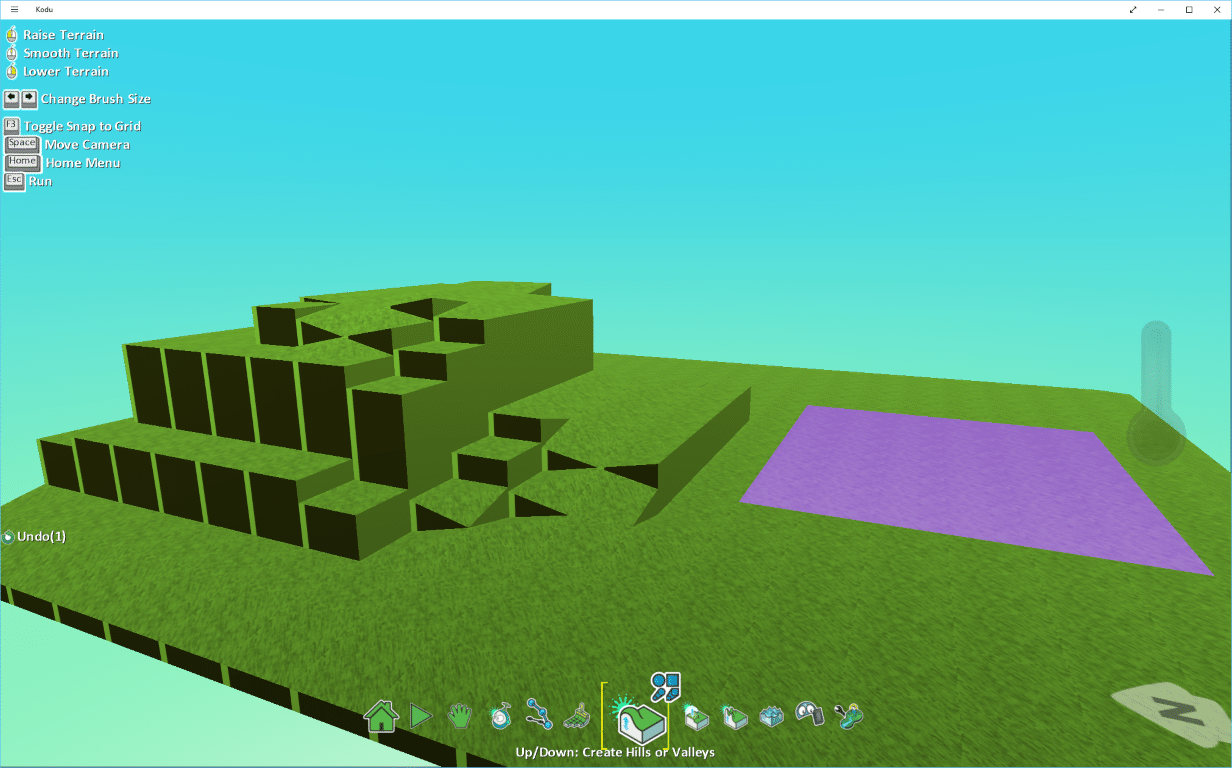
With the tool selected, you can hover over some grass. The selected area will be highlighted purple.
- Click and hold the left mouse button to raise the terrain.
- Click and hold the right mouse button to lower the terrain.
- Click down on the scroll wheel to smooth our your terrain (useful, as we’ll be making characters and objects move up the terrain in our next tutorial).
You can create some interesting looking worlds using this tool, and set your pupils some interesting challenges to solve!
Finally, a useful tool is the Ground Brush tool!
This tool lets you paint the terrain. This cosmetic effect is useful as you can alter the world to set challenges for your pupils. For example. move the character from the grassy hill to the muddy hill.
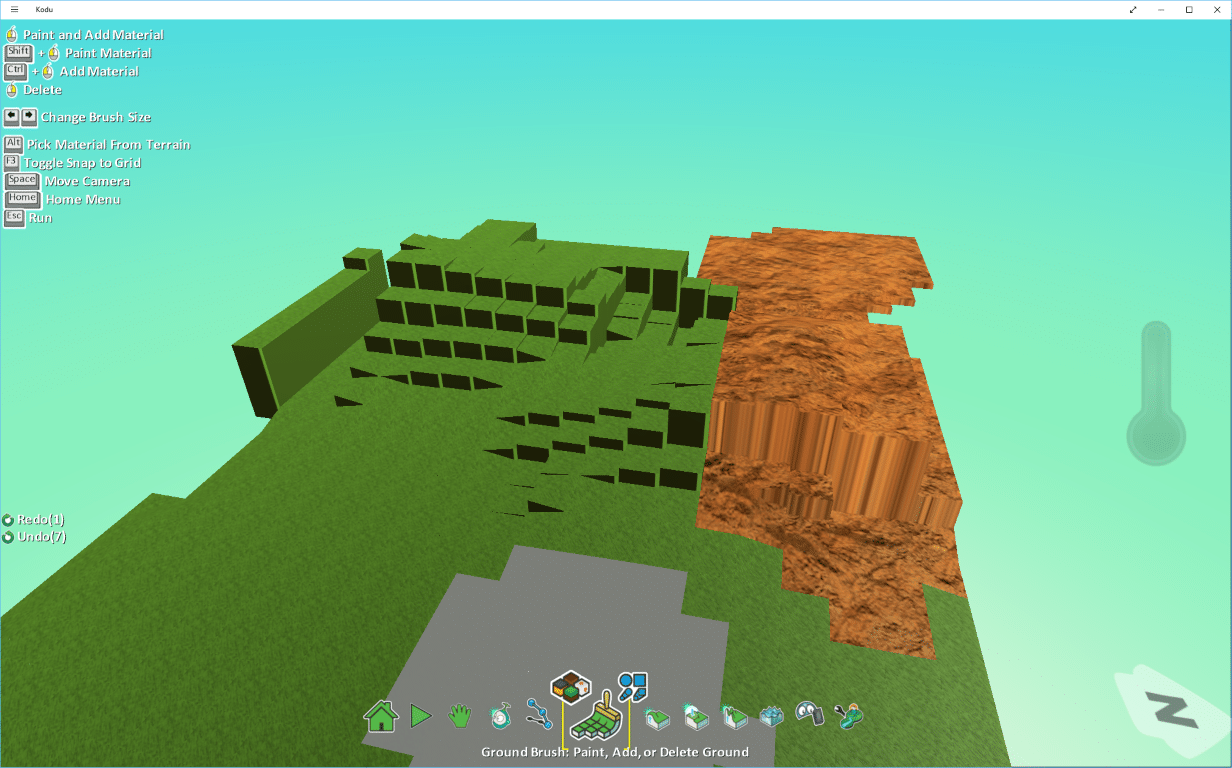
Select the Ground Brush from the bottom menu. When you click on it, you’ll see two icons pop up. The icon on the left lets you pick a pattern to paint (this includes colours, terrain types and other designs) and the icon on the right lets you choose the shape of your brush.
Once you’ve picked a pattern and a brush shape, you can then paint your terrain by clicking the left mouse button, and dragging around the screen. The area in which you’re painting will be highlighted purple. You can also adjust the size of your brush (if you’re a perfectionist) by using the left and right arrows on your keyboard.
Now that we’ve mastered the basics, we’ll move on and create some characters and objects for our world, and start learning how to code in Kodu.


